Set up email on Android
You will have been sent details of email accounts you have setup with your PagePlay site. You will need these details in order to setup your email account.
This tutorial shows you how to setup your email using Android's default email application. The same settings will still apply if you are using an alternative app but the setup process may vary.
1. Open Android Settings
You can do so by selecting the settings icon from your home screen, apps menu or notifications panel.
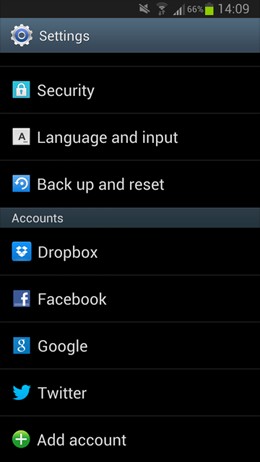
2. Scroll to the 'Accounts' section, select 'Add account'.
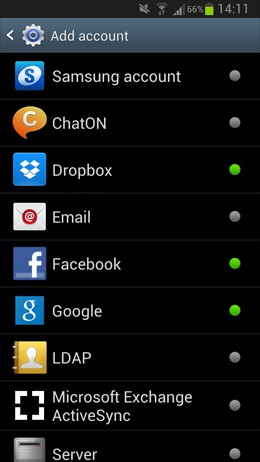
3. Select 'Email' from your list of applications.
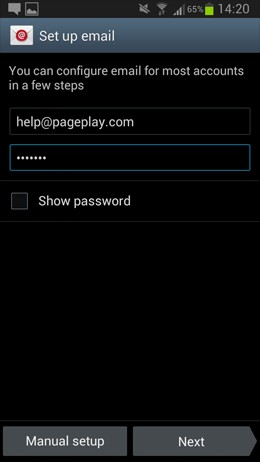
4. Enter email account details
Email Address: Enter your FULL PagePlay email address, for example: name@your-organisation.com.
Password: Enter the password associated with your PagePlay email account.
When you're done, press Manual setup.
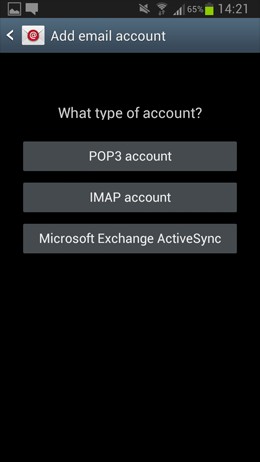
5. Select "IMAP account"
6. Enter Incoming Server Settings
Your device may have already entered some of these settings for you. Please replace any existing settings for Username, Password and IMAP server with the new settings shown below:
Username: Enter your FULL PagePlay email address, for example: name@your-organisation.com.
Password: Enter the password associated with your PagePlay email account.
IMAP server: mail.pageplay.com
IMAP path prefix: INBOX
Security Type: SSL/TLS (or if that fails try STARTTLS)
Port: 993 (or if that fails see above and try 143)
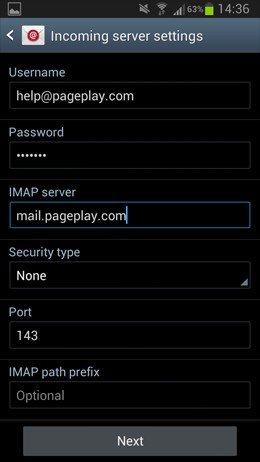
Leave all other settings as their current defaults.
When you're done, scroll down and press Next.
7. Enter Outgoing Server Settings
Your device may have already entered some of these settings for you. Please replace any existing settings for SMTP Server with the new setting shown below:
SMTP Server: mail.pageplay.com
Security Type: SSL/TLS or STARTTLS
Port: 465 (and if that fails 587)
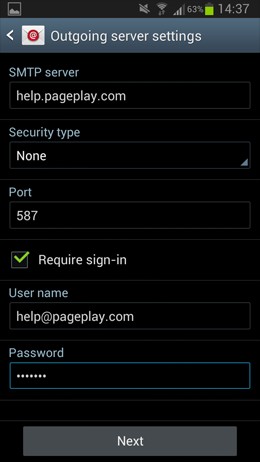
You should not need to re-enter your Username and Password for step 7 as they should be filled in automatically. If this is not the case enter the same User name and Password as you did in step 6.
When you're done, press Next.
8. Account Options
Here you will be asked how often you would like your phone to sync with your email and how you would like to receive notifications.
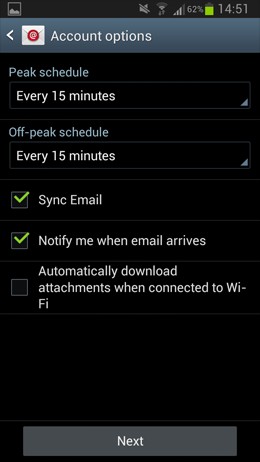
If you are happy with the default settings press Next.
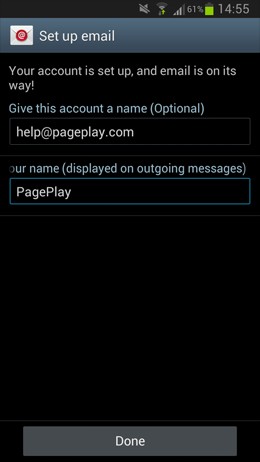
Check that your name in the bottom field is correct and press Done.
9. Check your emails
Your can now send and receive emails through the "Email" App on your home screen or from your applications screen. (See below)